Give a Picture Wall a Point of View
Arrange a collection around where people see it, what each piece needs, and what the wall can safely support.
A framed print changes character between the shop and the house. In a shop it hangs among dozens of objects of roughly the same size. Above a long sofa it may become the only thing you look at. The same print might seem lively near the stairs, where you see it briefly from two distances, and slightly lost across a wide dining room. A successful arrangement starts with the job the picture will have in its new location. Sometimes it will be the first thing someone sees. Sometimes it is there for the person who has already sat down and has time to look.
Collect the pieces you want to see regularly. Include the odd family drawing or a postcard if it matters to you. Take everything to the room and lay it on a protected flat surface. Color will help you make connections, but look at the differences in scale too. A drawing dense with tiny marks invites somebody to come close. A broad shape in two colors can give the room a point to look toward from the opposite seat. Decide which kind of encounter fits the wall.
See the wall from an occupied room
If the picture is for a chair, sit there with a friend holding it near its expected position. If you will encounter it from a hallway, walk up to it at your normal pace. A frame can look large enough when you stand a foot away and disappear behind a tall floor lamp from the entrance. Before aiming for any specific hanging height, look at furniture backs, curtains, and the eye level of the people who will see the piece.
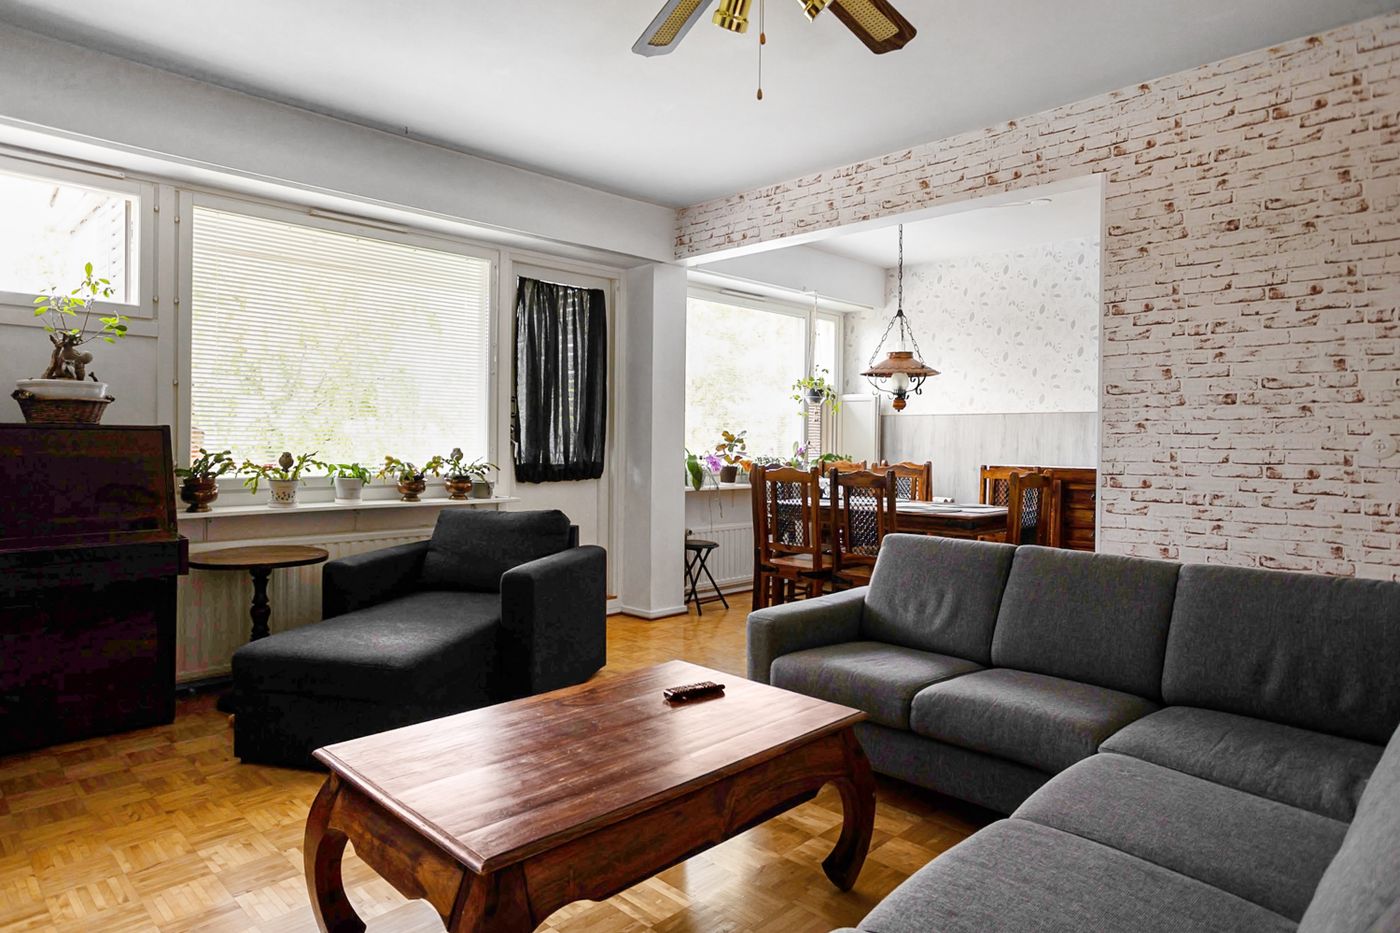
A picture above a sofa may need a relation to the sofa more than to the center of the wall. Place its lower edge where it has breathing room above the highest cushions. Try it with someone seated underneath. Make sure it will remain safe and clear of a person standing up. If the sofa is often moved for guests, consider centering the display on the wall instead. That gives the display an independent position and can make future arrangements easier. Either way, step back to see what the room emphasizes first.
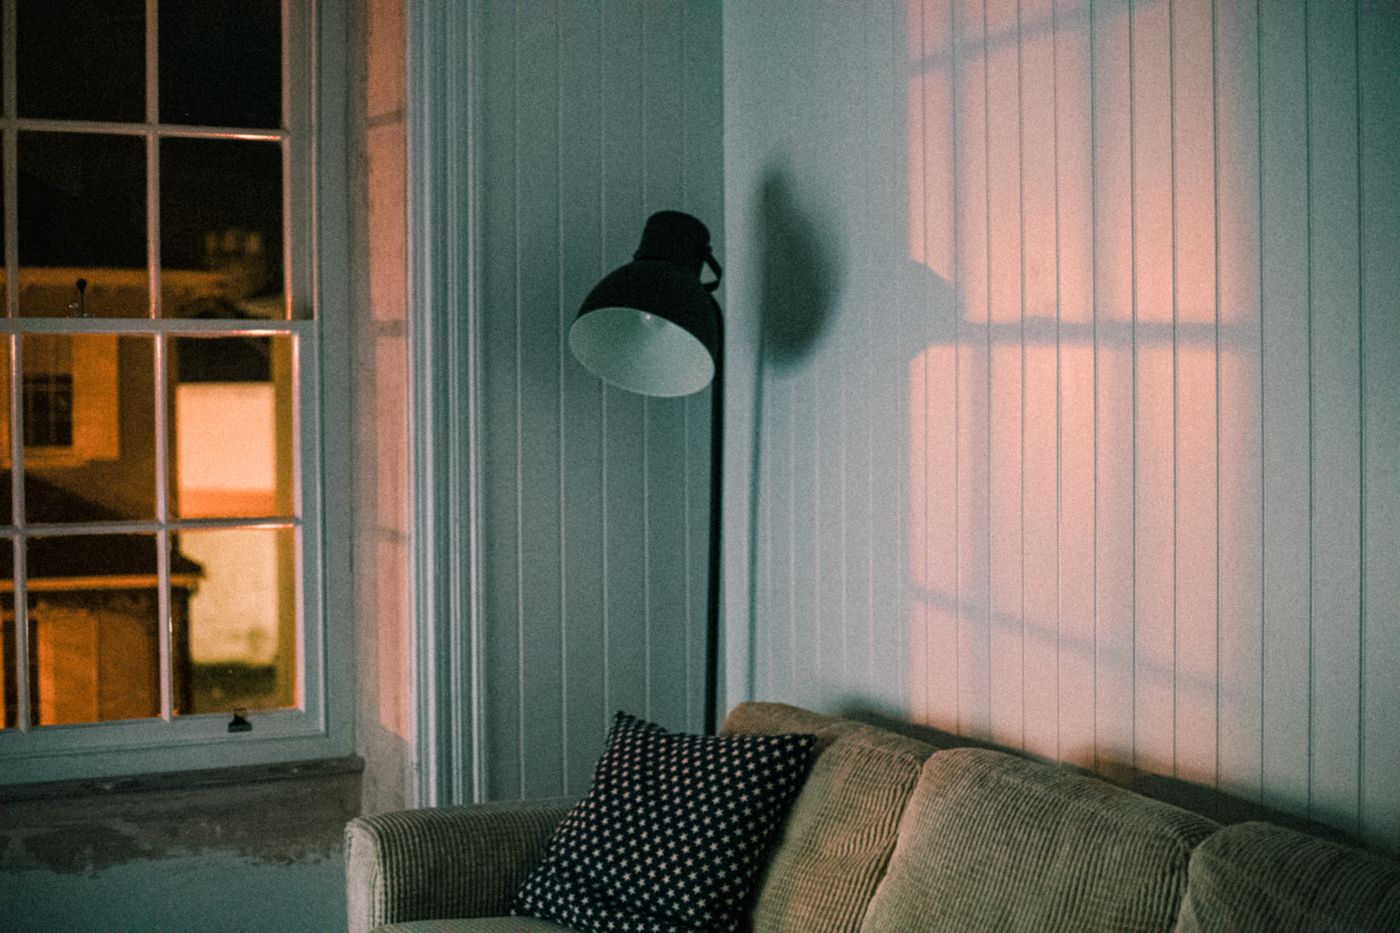
Art across from a window presents a different question. Ask someone to tilt a glazed frame while you move from the entry to your usual seat. Reflections can obscure the work even when the light falling on it looks attractive. A small shift away from the window's reflection may matter more than the perfect center on a drawing. Observe direct sunlight across the day as well. Strong light can cause sensitive papers and fabrics to fade over time. Move irreplaceable pieces out of direct sun and seek conservation advice before exposing vulnerable work.
Start with one piece that can hold the group together
A central work could be the largest frame, the most saturated color, or the piece everybody stops to see. Lay it on paper large enough to stand in for the wall. Put a second frame beside it and decide what relationship you want. Matching the bottom edges may emphasize a difference in height. Aligning the centers may make one broad picture feel like part of a pair with a narrower one. A small vertical work can also fill the space beside two low frames, leaving the group with a clear outside shape.
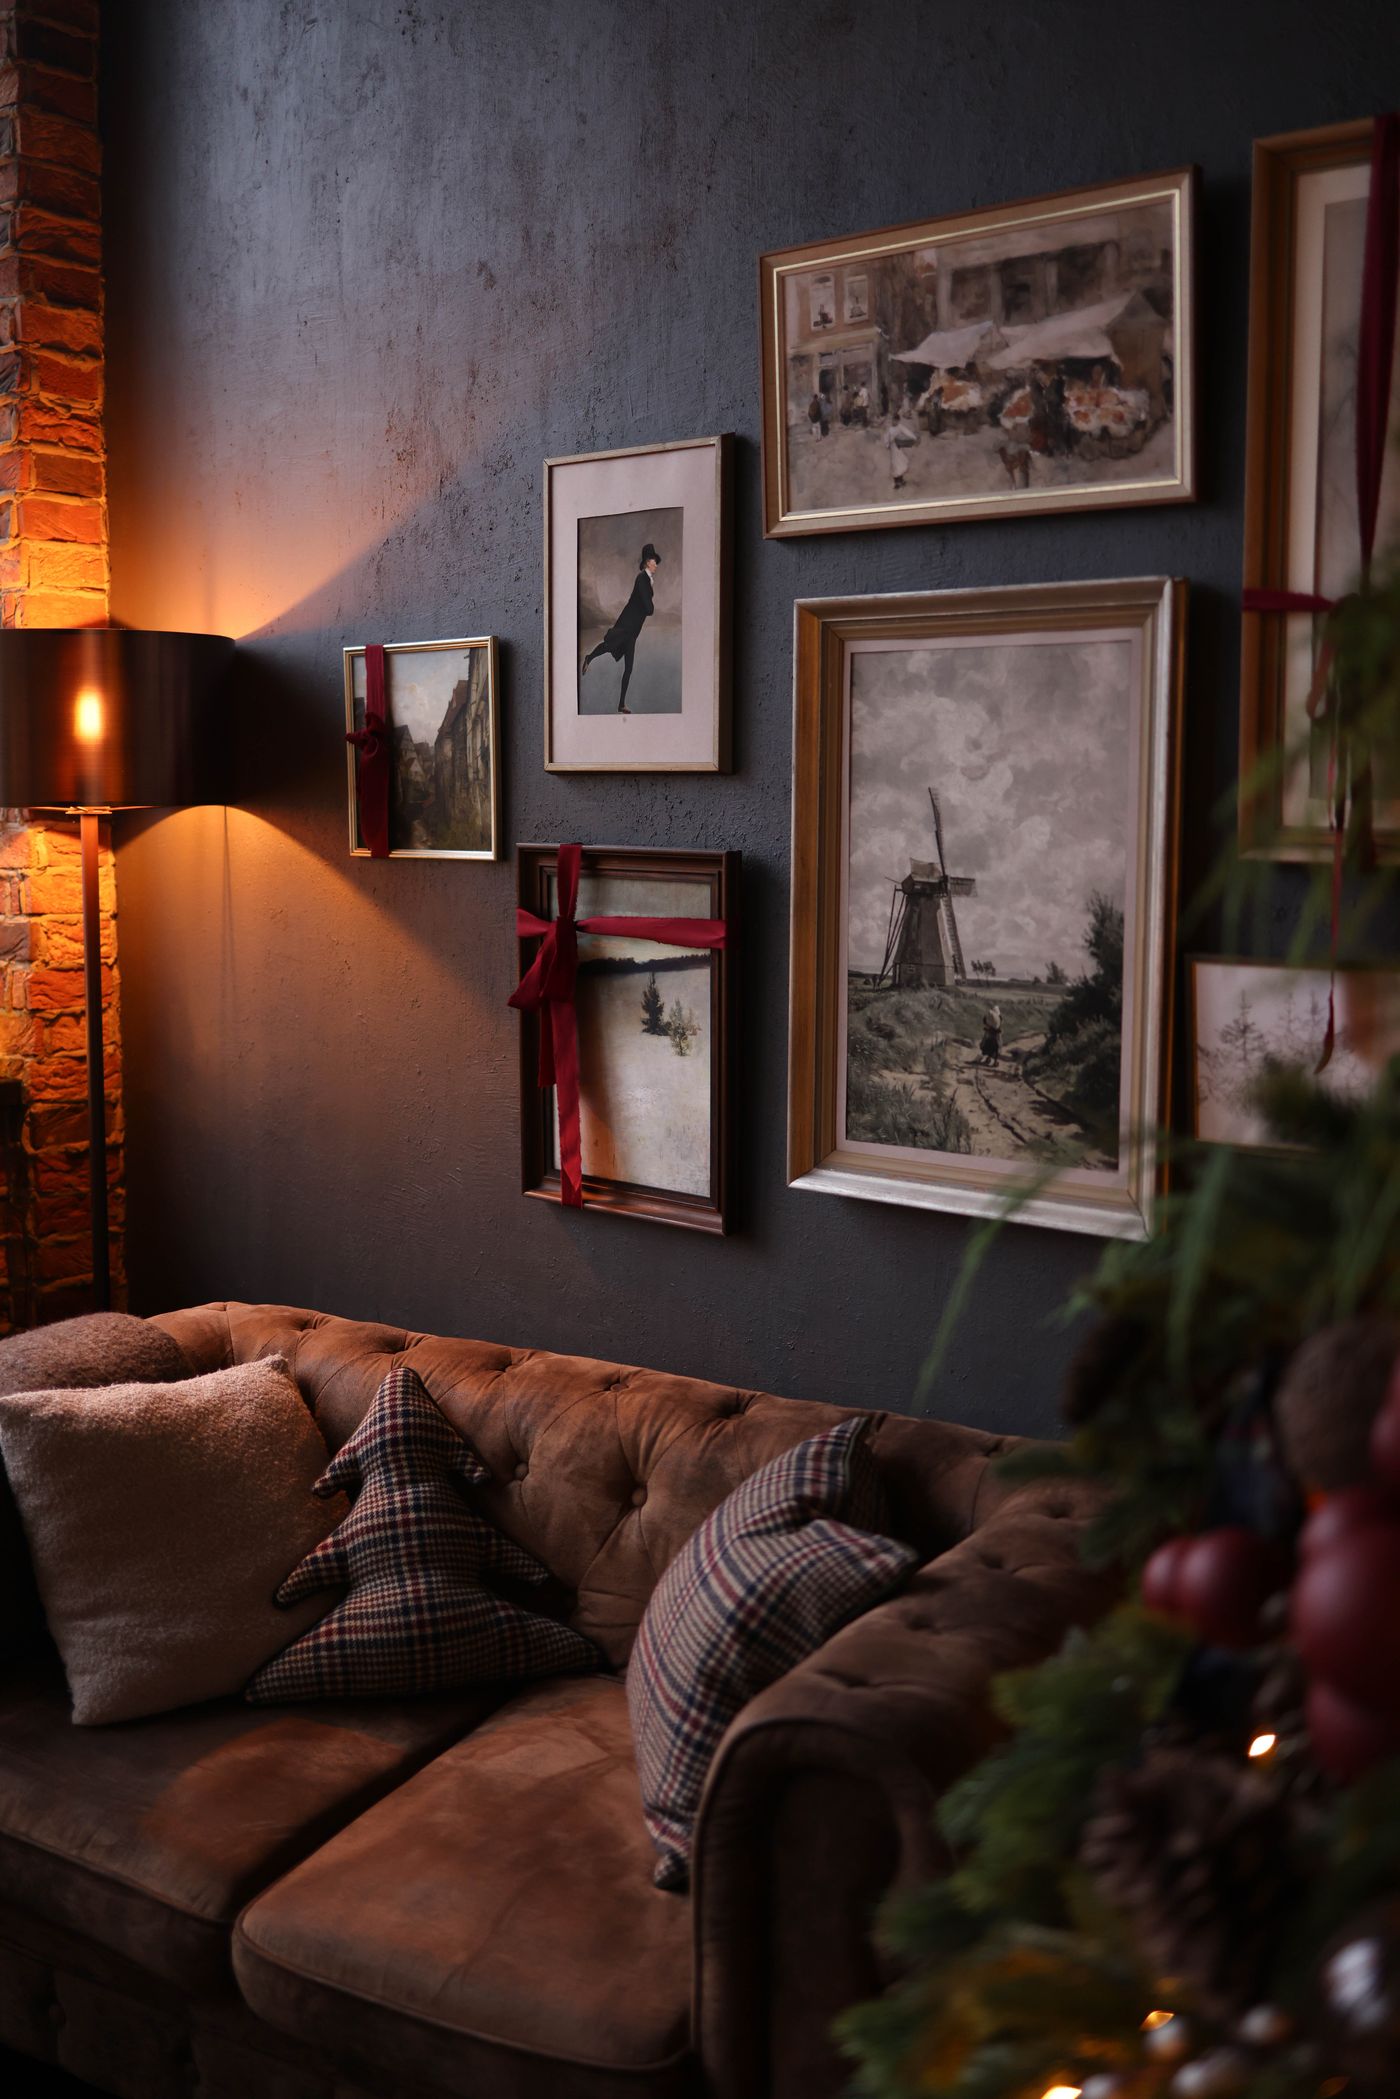
If you are building a large group from different frame sizes, find a line that links a few pieces and let the rest work around it. Try an imaginary line across three upper edges, or place two narrow frames one above the other and align them with the side of a larger print. An alignment the eye can discover makes a varied arrangement easier to read. Leaving one side irregular can also suit a room with asymmetrical furniture or an opening at one end. Try viewing the display on the floor from several positions before assuming the widest version belongs above the widest piece of furniture.
Gaps do as much work as frames. Take two pieces with emphatic wide borders and put them close together. The borders may create a broad empty space between the images even when the frames almost touch. Compare that with two drawings in thin frames, where the same physical gap looks much smaller. Adjust using the visible part of each image. If you step back and one piece appears to belong with a different cluster, change the space around it before replacing the work.
Make temporary outlines at full size
Trace each frame onto paper and write the name of the picture on the front. Use appropriate removable tape to put the sheets on a wall finish that can tolerate it, or ask someone to hold them up. Measure from fixed features such as the floor, the top of a cabinet, or the vertical line of the doorway. If a floor or piece of furniture is visibly out of level, confirm what you want the group to align with. A perfectly level row can look crooked beside a sloping cornice. That relationship is easier to assess when the whole outline is on the wall.
Leave the mockup in place long enough to see the room at a different time. The head of a standing lamp can overlap a paper corner from one position and uncover it from another. A plant that looks low in the morning can obscure a small picture when the curtain is drawn and the furniture looks darker. Check a group from the nearest seat, where someone may be able to study the work in detail. For a staircase, observe it from safe standing positions before working on any installation. Get help where the mounting height or location cannot be reached safely.
Take a straight photograph from the main viewpoint. You may spot a frame crowding the edge of a cabinet in a photograph after your eye has learned to ignore it in the room. Mark any changes on the paper mockup. Label the order of pieces that look alike from the back. If you have only one or two frames now and plan to expand the group, use paper to mark the actual space a future piece could take. Start with an arrangement that looks intentional by itself and has room at one side to grow.
Locate the support on the actual frame
Turn the first picture over on a soft surface and examine the hanging points. A sawtooth bracket, a pair of rings, and a wire all meet the wall at different places. The top of the frame shown by the paper is just the visible position. Measure from the top and sides to the places where the hooks will carry the frame. If you use a wire, check its position under tension while supporting the frame safely. Transfer those measurements to the appropriate sheet before removing it from the wall.
Use hardware rated for the frame's weight and intended for the type of wall. Inspect the frame itself as well as the wall. A weak backing or a loose fitting can fail even if the wall hook is suitable. Follow the hanging hardware and frame manufacturers' instructions. Avoid mounting heavy or breakable work in places where a fall would put a person at risk. Consult a qualified installer if you are unsure of the wall construction, concealed services, or the support needed for a large piece. If you rent, verify the mounting options your agreement permits before making holes.
Mount one frame and check its actual position before repeating the measurement across the wall. Small adjustments become harder once you have committed to a whole row. If your frame has two hanging points, check their relative height with a level. Look at the top of the frame and the window from your usual spot before deciding the piece is done. Protective pads intended for the frame can help stop gentle movement against a suitable surface. Keep the frames easy to lift out if you want to change the arrangement without reworking every fixing.
Let a wall change one object at a time
After a week, the easiest adjustment may be a change within a frame. A small print in a wide mat can give a busy wall room to breathe. One piece picked up on a trip can replace a drawing that has faded in your attention. Make a note of the opening dimensions of the frames you may want to reuse and store spare mats flat if you have somewhere suitable to keep them. A pair of useful frame sizes makes it easier to use a fresh picture without starting again.
When the collection includes original or fragile work, look periodically at the surfaces and mounts. A print that begins to touch its glazing or a frame with moisture inside deserves attention. Use appropriate materials and advice for the condition of the work. Store pieces you take out in a stable place suited to their material. Leaving a favorite drawing on display because there is nowhere good to keep it can be harder on the piece than rotating it.
Finally, consider where your eyes go when you walk into the room. In one arrangement you might see a broad shape first and discover the smaller works on the next visit. In another, the frame nearest the window might invite a short pause on every walk past. A picture wall can serve both ways at once. The pieces have enough space to reward a closer look, and the room has a clear place for a glance to land.