Make a Stripe Sampler on a Small Frame Loom
Use two yarn colors and short bands of plain weave to see how spacing, tension, and color change a piece of cloth.
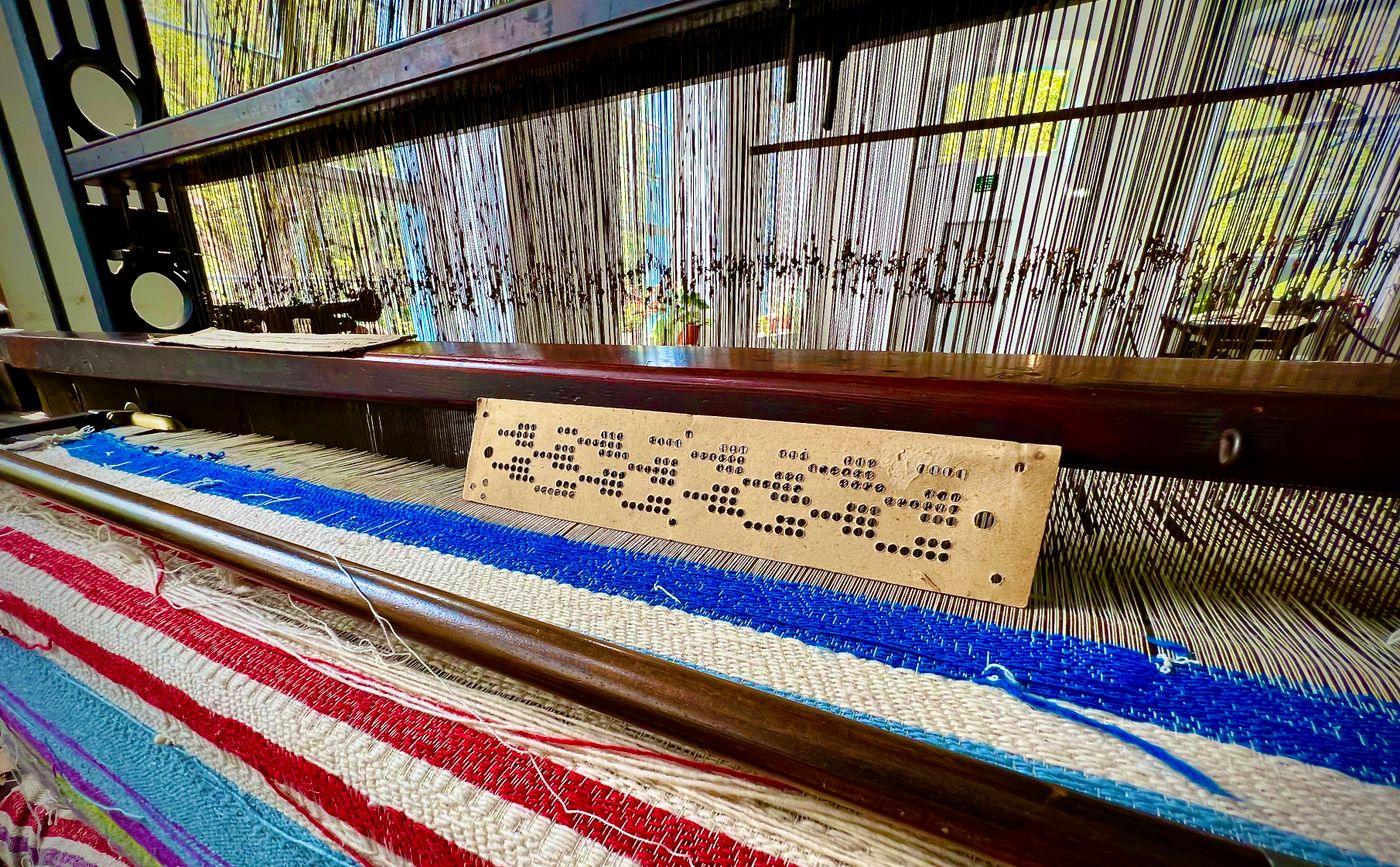
A stripe is a good first thing to weave because you can tell where it begins. It gives you a line to follow from one edge to the other and a place to count when you compare one section with another. A pale stripe across a dark warp can show skipped threads that a single color conceals. Two narrow bands woven from the same yarn can feel different when one has been packed more firmly. You can learn a surprising amount from a small strip without having to turn it into a cushion or a bag.
Use a small frame loom and choose yarns the loom maker recommends for your setup. The warp is the set of threads stretched along the frame. The weft crosses it. In plain weave, a weft row passes alternately over and under the warp threads, and the following row reverses that order. Use the directions for your loom to install and space the warp and check how much length you need at each end for finishing. A little plain weave starter band gives you a place to settle the spacing before you begin the stripes. Schacht Spindle Company weaving terms
Pick two yarns that will let you see what changed
For a first sample, use two weft colors in similar yarns if you have them. Two shades of the same yarn give you a clear comparison because thickness and construction are similar. Choose colors different enough to see where one ends. You can compare subtle colors later, after you know how many rows are needed to make a distinct band. A clearly visible contrast helps you spot an area where the warp shows more than it did two rows earlier.
Wrap a short piece of each weft yarn around a card in the proposed order. Change the proportion of the stripes and look at the card from a little distance. Two colors that seem evenly matched in a ball can have different presence in a narrow strip. The darker shade may stand out in a thin line or disappear into the warp. Put a small length of the warp yarn across the card to see what the three colors do together. Depending on the spacing and how firmly the rows are packed, the warp may remain visible in the finished surface.
Keep the first pattern simple. Start with a broad band of one color, a few rows of the other, and another broad band. On paper, write the order as a count of rows, such as six pale, four dark, and six pale. That count is a plan for the yarn, while the actual widths of the stripes are something you will observe. Two bands with equal row counts can differ in height if the yarn is packed more tightly in one of them. Reserve enough room for two test bands after your first sequence so you can change one part of the setup and compare.
Set up a comfortable movement across the warp
Use a stable position for the frame and the tools intended for it. Arrange the yarn so it can travel across the loom without catching on a corner of the table. Keep the working length manageable for the needle or shuttle you use. With a hand-held weaving needle, follow the path of the yarn slowly across the width of the first row. Look back along the row before pressing it into place. A missed thread can be easy to correct while the yarn is loose and harder to see after another row covers it.
Keep track of which row comes next. The next pass goes under the threads that the previous pass went over. At the edge, follow the last two warp threads to see whether the weft turns around the outer thread as intended. If you get interrupted, leave yourself a note about the direction of the next pass or mark the last row on paper. Count in pairs if that helps. A short sample is a good place to see what a repeat error looks like and to unweave carefully while the change is still close to your hand.
If your loom uses a pick-up stick or a heddle, use the manufacturer's instructions for the setup and operation. It may open a gap between groups of warp threads so you can pass the shuttle through them. Even with the gap open, watch the outermost threads. The edge may behave differently from the middle, especially if you turn the weft sharply. Work slowly enough to make a deliberate turn. It helps to see the cloth form before concentrating on weaving quickly.
Keep enough yarn in each pass
A weft thread takes a slightly longer route through the warp than the straight distance between the edges. If you pull it taut across the frame and then press it down, the cloth can narrow as the yarn wraps around the warp. Weavers call that narrowing draw-in. Try leaving the new row at an angle or in a gentle arc before settling it into place. Leave enough extra yarn for the route through the warp and watch what happens at the edges when you pack the row. The amount that works depends on the yarn and the setup. Schacht Spindle Company guidance on draw-in
Set a ruler lightly against the first few rows while the cloth is on the loom, without pushing the threads out of position. Write down the width at the bottom and near the working edge. After several rows, make the comparison again. If the top is visibly narrower, add a little more weft allowance in the next rows. If an outside loop sticks out, see whether the turn can be brought a bit closer while leaving room in the middle. Take it in small changes. Pulling harder at one edge can create a second problem while you are fixing the first.
Give yourself permission to leave one imperfect section intact as a record. Mark the beginning of the adjusted section on your notes, not by inserting a hard object into the cloth. After the sample comes off the loom, the earlier band will show you how the shape changed. If every trial gets unpicked, it is easy to remember the correction without remembering what made it necessary. A straight section beside a narrow one can tell you exactly when the edge began to improve.
Make the stripes do the measuring
Change color using a method suitable for the loom and your project. Leave tails long enough for the finishing method and avoid building a bulky knot into a place that needs to lie flat. Use the loom's instructions or a reliable weaving reference for securing the ends. Look at the front and back before choosing which face to display. The tail placement that suits a hanging sample may be different from one you intend to handle on both sides.
Count the new rows and compare them with the paper plan. A thin band of four rows can read as a definite stripe or just a faint interruption depending on the yarn and the pressure used to pack it. If you want to see the difference, weave one band with the same yarn and an even, light packing motion. Weave another in a separate section using slightly firmer packing while watching the width. Measure the height taken by the same number of rows. It is a small experiment you can feel as well as see.
If the edge of a stripe appears to rise on one side, look at where the new rows have accumulated. One portion of the warp may be looser, or your hand may have pressed harder along one edge. Check the directions for setting and adjusting your loom rather than tightening individual threads at random. Examine the last complete row and compare it with the previous one. Small changes noticed early are easier to address before they become the shape of the whole strip.
Finish the sample and compare it off the frame
Leave the length of warp your finishing method requires. Secure the ends before or after releasing tension as directed for your setup. Take a measurement while the sample is still on the loom and another after it has relaxed. If it pulls into a slightly different shape off the frame, put both measurements in your notebook. There is no need to stretch it into the earlier dimensions just to make the numbers agree. You want a record of how the yarn actually behaves.
If the finished piece will be washed, follow the care instructions for the yarns and record the result after it dries. Compare the measurements and see how the rows feel. One stripe may become more prominent when the surface settles. A tight band may feel stiffer than the one beside it. Keep the sample with notes on the yarn and the changes you made. A card with a spare length of both colors can help you recognize the yarn later.
Next time, keep the experiment small enough to isolate a single decision. Try the same stripe pattern in closer colors or use the same yarns and compare a longer section with a different row count. A finished sample with some irregular edges still gives you a reference you can hold beside the next one. Over a few attempts you may find a combination that you want to repeat in a real object. You will already know how wide the stripe appears, how it feels in the hand, and what you did to make the edge behave.