Shape a Little Dish for Things That Get Lost
Make a shallow clay dish in a teaching studio and judge the shape by what your hand needs to pick up.
A collar button, a pair of small earrings and the key to a window have something in common. They are easy to set down and unexpectedly hard to find again. A little dish gives them a visible address. The interesting part of making one is that a bowl small enough to look modest can still be too deep to use. If you have to turn it over to retrieve the last button, the wall is doing more work than it needs to.
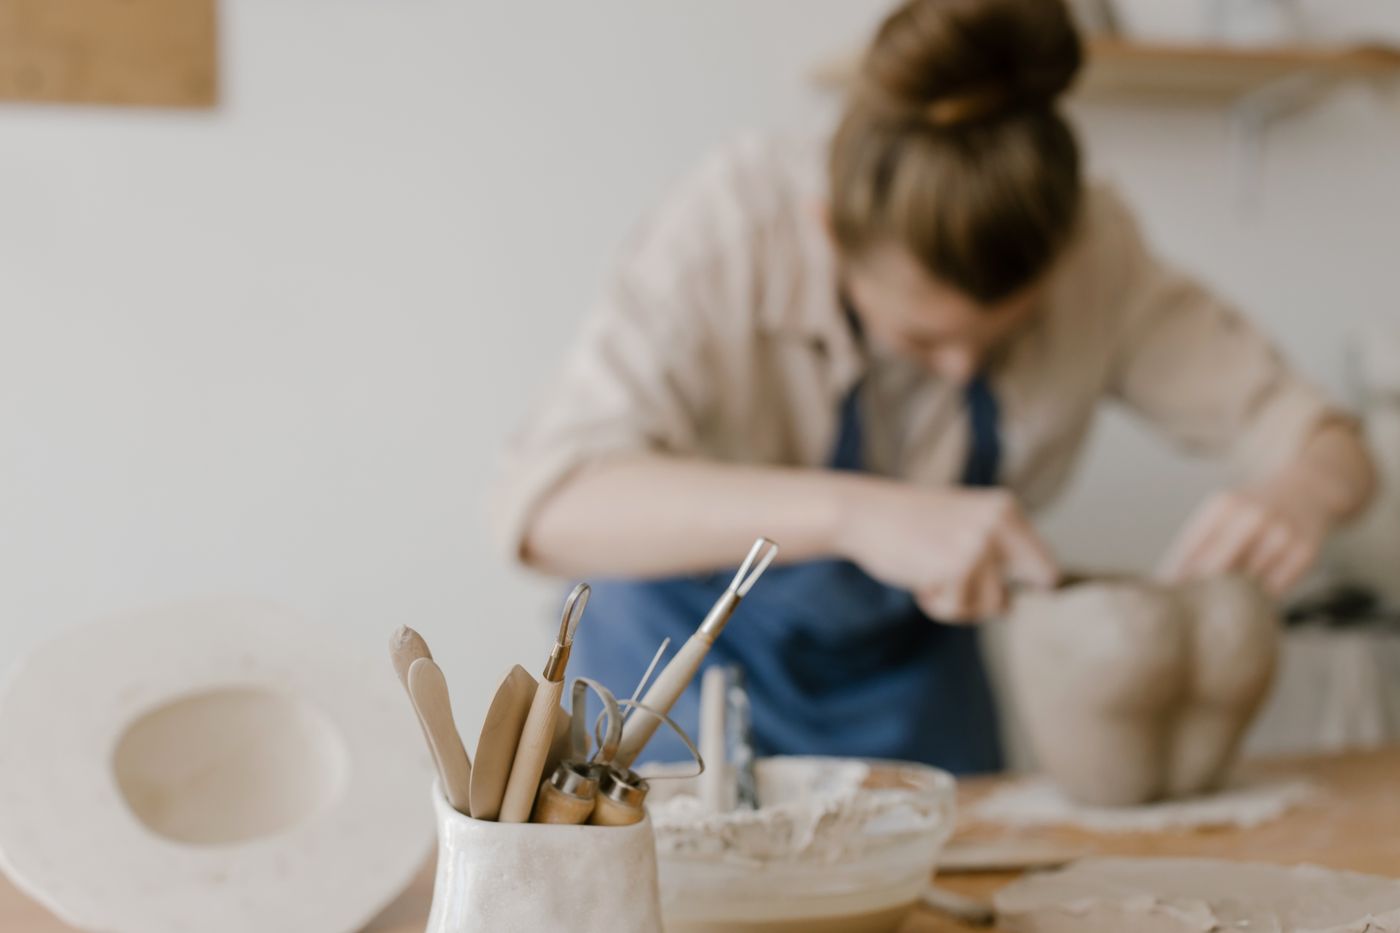
A ceramics studio class gives you a place to test the idea with a teacher who can help you choose a workable clay and handle drying, glazing and firing. Think of the project as a decorative object for dry belongings. A dish intended for food or drink brings different material and firing requirements. Decide where your piece will live and what it will hold before making a shape you will have to accommodate later.
Start with the things it will hold
Bring a few of the objects you have in mind, or draw around them on a piece of paper. Arrange them so you can take each one out with a thumb and finger without moving the others. A ring that stands on edge and a flat key use space differently. If the dish will catch sewing buttons, leave enough room to slide one to the side before lifting it. For a window key, test whether the handle needs to project over the lip or can rest wholly inside.
Put the paper on the actual surface where the finished piece will live. On a narrow hall shelf, a long shallow oval might sit more comfortably than a circle of the same area. A dish on a nightstand needs to leave room for a hand reaching for a glass of water in the dark. On a desk, a crisp outline can hold the edges of a pile in check, but a raised corner may catch a sleeve. Move the paper while doing the ordinary action nearby and observe when it begins to feel in the way.
Draw an inner outline for the useful floor and a second outline where the rim should sit. Even a slight rise consumes some room as the wall curves out from the base. Talk to the instructor about shrinkage for the studio clay and process. A clay shape that fits a tracing precisely before firing may end up smaller. If the dish has to fit a narrow shelf or hold something of fixed width, tell the instructor which dimension matters before guessing at a margin.
Choose a rim you can use by touch
Find two small bowls or dishes to compare. Close your eyes if it is safe to do so and try to lift the same object from each one. A low rim with a gradual slope might let a flat object slide up toward your fingers. A higher rim can help if a round object tends to roll away. A little extra height along one side can be enough. The easiest shape to use may have an opening on one side or a gently uneven wall, if you can make the base sit securely.
Make a rough cross section on paper. Draw where the table supports the dish, where the object rests and where your fingers go. A rolled or softly rounded lip may feel nicer than a thin edge. Thickening it too much, however, can make the outside dimensions larger without improving the inside. You can test the idea on a small practice piece of clay under the teacher's guidance before making the full dish. An offcut is an inexpensive place to discover that a particular curve is hard to form or awkward to touch.
Consider how the piece will be moved. A wide shallow dish may be easy to lift with both hands when empty and awkward to move with loose pieces in it. If it is going to stay in one place, a low profile is enough. If it will travel from a dresser to a sewing table, give a fingertip a comfortable place to hold the edge without squeezing a fragile projecting feature. Leave decorative holes or attached handles for a later piece if they complicate the first one.
Make one shape at a workable scale
Ask the studio which forming method suits the clay and the size. A small shallow bowl can often be formed by hand, or you can shape a slab with a support approved for the material. The instructor can show how to make the thickness fairly even and how to support the piece while it firms. Resist the temptation to keep thinning a wet rim in search of delicacy. A stable shape that can be handled and fired successfully will teach you more than an ambitious version that sags before you see it finished.
Turn the work as you look at it. From above, a slightly oval outline might look intentional. From the side, a steep dip in one place might make small objects escape. Decide whether that dip helps the way you plan to use the dish. Inspect the base, too. A dish that rocks whenever you touch it will move at the exact moment you are trying to pick up something small. The instructor can help check the underside while it is still possible to correct a problem without forcing the clay.
Finish edges using the studio's wet methods at the stage the instructor recommends. Keep clay dust out of the air. Do not sand dry clay at a shared table or sweep up dry powder. Use the studio's cleaning procedure and ask where to put slurry and scraps. Staff should guide any work with glaze, kiln or powdered materials. For the health reasons behind these routines, see the studio safety guidance from Princeton University's environmental health and safety office. A clean, softly rounded edge made during forming is easier to live with than one you have to correct when the piece is dry.
Decide which marks belong on the surface
A smooth floor makes a small object easier to slide. A heavily textured floor may conceal a dark button or catch a fine chain. If you want to try a texture, choose a band near the outside or an area of the rim that does not take the weight of objects. Test the pattern on a scrap first. A groove that looks slight on wet clay can become a deep shadow once color is applied and the light changes.
Choose a surface color by considering what you want to see in the dish. Pale earrings are easy to notice on a darker ground. A black key might disappear on the same surface. A moderate tone is often easier if the contents will change. Look at actual fired examples from the studio when choosing a glaze, since the color on an unfired sample can be very different. Follow the studio's rules on where the glaze can go, particularly on the part that touches the kiln shelf, and leave firing to the instructor.
Avoid pushing the clay into a second job merely because you have material left. A notch for a cable may sound clever until the weight of the cable drags the dish from a shelf. A deeper compartment for coins might make the rim too tall to reach over. If you can describe what one shape should do in an ordinary sentence, keep that shape and make a separate test for the other idea. One small piece gives you plenty to learn.
Test the finished piece where it will stay
Once the studio says the piece is ready, set it on a stable surface and check that it sits firmly. Feel for an unexpectedly rough edge where a finger naturally reaches, and ask the instructor how to handle any defect before putting the dish into use. If the underside might scratch a delicate surface, place the dish on a thin, stable protective pad appropriate for that surface. Make sure the pad does not introduce the rocking you just checked for.
Put the intended items inside. Pick them up from your normal standing or seated position. The angle from a nightstand can be very different from the angle at the studio table. Try retrieving the smallest item when a larger one is already in the dish. If the rim covers it from view, move the dish so light reaches the floor or assign it a different object. A finished piece that is wrong for coins can still be exactly right for a single watch.
Measure the fired dish against your paper outline before discarding it. If you make another piece with the same studio clay, that comparison will give you a useful starting point for dimensions.
Watch what actually lands in it over a week. If it accumulates wrappers and spare change because it sits under the route from a coat pocket, empty it and decide whether that is the job you want it to do. A small dish earns its place by keeping one group of things findable. The notes for a second version might be as simple as “lower on the front, a thumb wider at the base, lighter inside.” Those dimensions come from using the piece. You could not have read them off a picture of a perfect bowl.