Planting a Container That Still Looks Good in August
Design a pot around the place it will actually live, then make watering, trimming, and end of season changes easier.
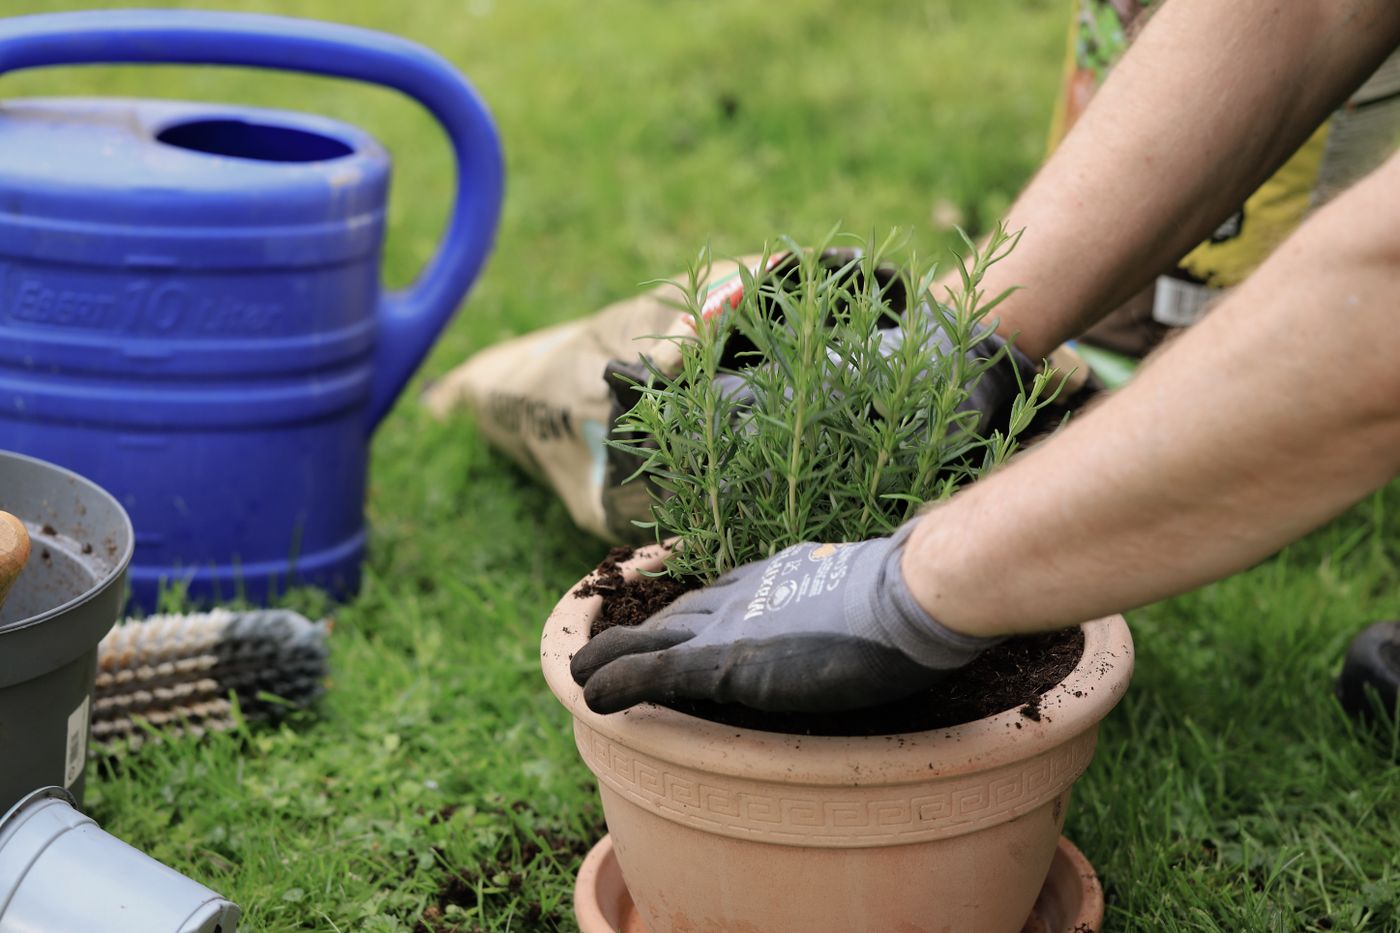
The first week after planting is rarely the difficult part. The nursery plants are compact, the compost is fresh, and there is usually time to carry the watering can out after dinner. Trouble comes later, when one plant doubles in size and another slips behind it, when the pot has to be moved to get a bicycle through, or when a week's hot weather makes the whole arrangement feel like a daily obligation. A useful container plan begins with those later weeks. What will the plants look like at full size? How easily can you reach the soil with the watering can? And can you replace one tired plant without taking the whole thing apart?
Follow the sun before choosing the plants
Look at the place you intend to put the pot at breakfast, around noon, and late in the afternoon. The bright edge of a porch and the back wall of the same porch can behave quite differently. A railing can shade a low pot even when the upper leaves of a tall plant get sunshine. A masonry wall may stay warm in the evening and speed up drying. Wind across an open landing can make a bright, cool morning deceptive: leaves can lose moisture quickly once it picks up. Check whether an overhang keeps rain from reaching the container. A wet patio does not necessarily mean the compost has been watered.
Take one more look from inside the house. If the pot is mostly seen through a window from across the room, small flowers with subtle markings will scarcely register. A strong leaf shape or a block of colour will travel that distance better. If the pot sits beside a bench, details matter more. A low plant with interesting leaf texture can be far more satisfying than a tall one that blocks the view. Put a cardboard box or an empty bucket where the container might go. Walk the usual route, including the awkward version with shopping bags or a full laundry basket. A pot that inconveniences you is likely to be moved to a spot the plants never agreed to.
Pick the vessel for maintenance as well as appearance
A wider pot holds more growing medium than a narrow pot of the same height, which can make watering less frantic. A broad base also makes a better partner for top growth exposed to gusts. Heavy materials are useful where a pot should stay put; they become a nuisance if you have to bring the plants under cover. If the container is going on a balcony, roof, or raised deck, find out what the structure and building rules allow before buying a large vessel. Work with the weight of the full, wet pot, including the plants and any stand, rather than the weight listed for the empty container.
Check for a clear outlet at the bottom. A decorative outer vessel without a hole can work if it holds a separate nursery pot you can lift out and drain. If it fills with rain, the roots of the inner plant can sit in water even when the surface looks fine. Skip the layer of stones inside an ordinary planting pot. Stones take up growing room and do not replace a working drainage hole. Use a container growing mix suited to the plants, and fill almost to the rim while leaving enough space to water without washing mix onto the floor. If the pot is new to you, water the empty mix once before planting. It is easier to notice a blocked outlet before any plants are in the way.
Use fewer plants than the nursery display suggests
At the garden centre, spread your candidates out so you can see the leaves and read the labels. Match their needs for light and water before judging the combination. A dry loving plant and a moisture loving plant can make a lovely arrangement on the shelf; in the same compost, one is likely to spend much of the season getting the wrong treatment. If you want both, give them separate pots. You can group the pots so the foliage overlaps from the main viewing angle and still water them separately.
For a mixed pot, decide which plant should command attention when it matures. The largest nursery plant is not necessarily the strongest grower. Find the mature width on the label and imagine those widths overlapping. For a pot against a wall, place taller growth to the back, but leave a gap for air and to check that the pot is draining. In a pot seen from all sides, put the taller form closer to the centre. Leave an open patch near the rim where the watering can spout can reach soil. If you expect to remove an early flowering plant and put in something later, plant that piece where you can lift it without breaking the others.
Foliage is a useful way to buy time. A sturdy leaf shape still gives the container a point of interest while flowers are finishing or a fresh flush is forming. Try two plants with clearly different leaf scales, such as one with broad leaves and a smaller textured companion, instead of collecting several whose silhouettes only look different on their labels. Repeat one colour from a nearby object if you want the pot to feel settled into its surroundings. A rust coloured chair and one plant with copper in the leaf can do more for a corner than an elaborate combination of flower colours.
Water the soil and watch what happens underneath
After planting, water slowly in two passes. The first moistens the surface and the second gives the mix a chance to take up more water. Check the outlet: water flowing immediately down one edge of a dry root ball may leave the middle dry. Move the spout around the pot and use a finger or a plain wooden skewer, where roots allow, to check whether moisture reached deeper. A plant that's drooping may be dry, but it can also be stressed by soggy roots, heat, or recent transplanting. The next watering decision should come from checking the mix, not from the leaf posture alone.
Make a habit of looking in the morning. An east facing pot may be comfortable at that hour and still need closer attention in a heat spell. A heavily planted container can require more water once all those roots occupy the pot, while a small plant in an oversized pot may use water slowly. The aim is a routine you adjust by observation, not a rigid count of days. When the weather changes abruptly, check pots under eaves separately from exposed ones. If using saucers to protect a floor, tip away excess where appropriate, and avoid creating a puddle on a neighbouring balcony or a shared walkway.
Put the watering can where you can use it without carrying it across a rug or opening two doors. It sounds too small to matter until there are several pots and each one needs a slow watering. If a helper will look after them while you're away, group pots with similar needs and point out the one that dries fastest. Have the helper check the soil instead of prescribing the same amount of water for every container. Before relying on a reservoir, wick, or drip setup during a trip, test it while you are home and see how much it delivers to the different pots.
Plan for the month when the pot changes shape
Inspect the arrangement from its main viewing point about two or three weeks after planting. If one plant is stretching toward the light, find out whether it needs a brighter site before trimming it. If a trailing plant is shading a slower one, tuck or redirect a few stems and see whether the balance improves. Remove spent flowers where the plant benefits, but read the plant's instructions before cutting heavily; some carry next season's flowers on growth you might otherwise take off. Remove dead leaves that collect around the stem so you can still see the base and spot problems early.
Suppose you have a sunny pot with a tidy upright plant in the middle and a spreading annual at the front. A broad plant in the rear begins to disappear from view. Rotate the pot first if the light and surrounding space allow it, or shorten the spreading plant a little rather than digging up the hidden one. If you want to swap it, choose a cool part of the day. Water the existing mix if it is dry, lift the unwanted root ball with as little disturbance as possible, and fill the gap with fresh mix around the new plant. For plants that have grown tightly together, removing the top growth and leaving roots to break down may be less disruptive than trying to extract them.
Consider feeding only after you know what's already in the mix. Some bagged products include fertilizer; others contain little. A plant whose roots are waterlogged or starved of light will not recover simply because it gets more nutrients. Follow the product label and the plant's needs if you feed. At the same time, look for signs that the pot itself is the issue: it may have settled onto a flat surface that blocks the outlet, or a large plant may have become so root bound that the mix no longer holds moisture between checks. Lift the pot safely and put it on suitable feet if the drainage needs room.
Keep something worth saving when the season ends
After the main display has passed, decide which part deserves to stay. An empty decorative pot at the entrance may be better than a sickly arrangement left standing until spring. A perennial can stay only if its roots can tolerate the local cold in a container, which offers less protection than garden soil. Check plant hardiness and protect the vessel too: pots that hold water can crack during freezing weather. If you plan to bring a tender plant indoors, inspect it for pests and check that you have enough light and space. Discard diseased plant material according to local guidance rather than moving the problem to a fresh planting.
Before putting away the tools, write down the two facts most likely to help next year. The small terracotta pot dried out first. The tall stems looked their best from indoors but leaned in the wind. The rear plant was lovely in June and invisible after July. That short record is more useful than a photograph taken the day you finished planting. It tells you which part of the display did its job, where you spent unnecessary time, and what you can change without buying a whole new set of pots.