Wood Cabinet Fronts You Can Live With
Compare grain, finish, handles, and repair options at the places kitchen cabinets see the most use.
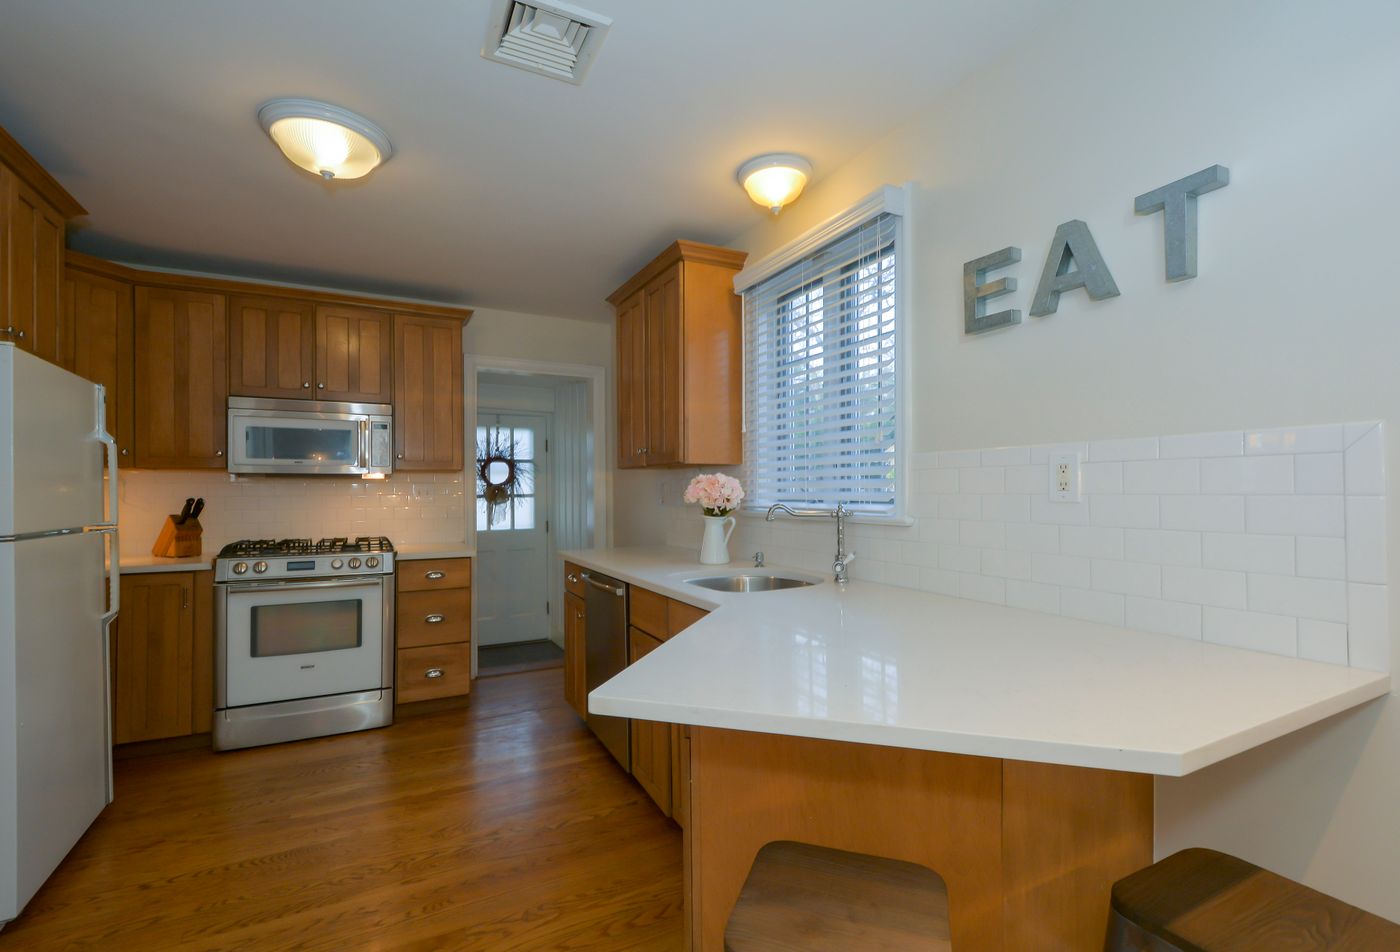
There is a particular patch on a kitchen cabinet that tells you how the front will age. It is the spot where somebody uses a knuckle to push a door shut or catches the edge with two fingers. A catalog picture shows the entire door, and the person choosing the cabinet may spend most of their time admiring the color. Try to see that smaller patch too. On a smooth slab it might catch a light reflection after every touch. On a door with a recessed frame it might collect small marks at a corner. When a kitchen is used several times every day, the places people touch acquire a character of their own.
Think about what the cabinet fronts will meet during a normal week. On one run, people pull out drawers while their hands are still damp. Beside an oven, somebody carries a hot pan to a nearby landing space. A front under the sink can see drips that never reach the cabinet at the far end of the room. Walk around your current kitchen and identify the busiest cabinets. Those are the places to use when you compare door samples and handles.
Ask how the face is constructed
A wood cabinet front can be made with a solid wood frame and a separate center panel. It can have a layer of real wood over a manufactured panel, or a decorative surface that reproduces the appearance of wood. The labels can sound similar when you hear them quickly. Ask to see the edge and back of a real door in addition to the face. Request the product description in writing if you are comparing several sets. Which parts are wood, what forms the core, and which finish protects the face and edges? The answers tell you more about the door you will receive than the species name printed beside the picture.
Wood veneer can give you large surfaces with a consistent grain direction, and real boards often display individual changes in color and figure. Both can suit a kitchen. Look at how adjacent parts will be selected, especially on a long row of wide drawers. Grain running across three stacked fronts can produce a clear continuous pattern if the fronts are cut and arranged to make that happen. A sequence selected for variation can look equally deliberate when the layout has room for it. Ask to see examples at the scale you plan to use. A sample that measures a few inches is too small to show what one uninterrupted line of grain will do across a large island.
Different materials also offer different ways to deal with damage. A maker might be able to replace one front in a current range while a custom shop might repair or refinish a panel. Ask what they would do with a worn spot around a handle or a chip on a corner. A spare front ordered now may still appear slightly different years later if the installed fronts have changed in the light. Knowing the available options helps you choose something you will be comfortable maintaining.
Put the samples at drawer height and door height
Look at the finish in the position it will occupy. A sample leaned upright beside a window can show a different sheen from the same sample in the shadow below a worktop. If you are considering wood on both lower and upper cabinets, compare the sample in both positions. Some kitchens carry a substantial amount of wood well because the window and worktop make long breaks in the surface. Other rooms feel quite different when pale upper fronts replace wood above eye level. Cover the area temporarily with light card or fabric to get a sense of how much the upper part contributes.
See what the finish does under the lights you use in the evening. Hold the board vertically and move past it from the entry. A sheen that reads as a steady warm color from one position may pick up a series of light spots as you move. A highly figured wood can look flatter in a dark corner than it does where it meets a window. Evaluate the most visible cabinet from a place where you regularly stand. Look from an adjacent dining table if that is part of the view.
Bring flooring and worktop samples together with the front. The surfaces should meet at approximately the same angle as they will in the kitchen. Warm wood above a cool floor can look balanced when a colored counter sits between it and the wall. The same pair can look unexpectedly similar in value but different in color where the cabinet ends near the floor. Compare near an opening between rooms too. A large wooden cabinet in the kitchen may sit beside a completely different wood floor beyond the door. If both are visible at the same time, include them in the comparison.
Try the handle with the movement you already use
A handle is a small piece of hardware that makes the front feel different at every opening. Place your fingers around one with the door mounted or held at working height. A handle you can grip with the whole hand may be useful on a heavy drawer. A short tab may be easy to hook with one or two fingers but less comfortable when a drawer carries a stack of pans. See where your fingers land and whether they repeatedly brush the wood. Some people like a narrow grip while others find it difficult. Invite the people who use the kitchen to try the hardware if possible.
Open doors that meet near a corner. A projecting handle can get in the way of a neighboring door or drawer. Ask the supplier to show how the hardware clears nearby fronts and walls in the proposed arrangement. On an island, notice the position of a handle close to a path. A protruding end can catch on clothing when somebody brushes past. A hand can also touch the edge of an adjacent appliance as a door opens, so consider both the outline of the hardware and the path of the hand.
A front without a visible handle has its own way of opening. Some use a shaped edge or a channel. Some have a push mechanism. Try opening and closing the same front several times. Find out where fingertips touch, how the mechanism feels when the drawer is full, and what the care instructions say about the areas inside the grip. A discreet finger pull can be easy to use once people know where to reach. Where several similar fronts open in different directions, check that a new visitor can quickly tell which edge to use.
Examine the edges as carefully as the faces
A cabinet front spends much of its life with at least one edge visible. See how the face meets that edge and whether the transition is consistent with the look you want. On a slab front, an exposed joint may be apparent in sidelight. On a framed door, the corners and inside profile collect shadows. Look at the inside of an open door too. A light interior can make the cabinet easier to inspect, and the back surface contributes to the feel of the whole piece when it is open.
Follow the maker's instructions on cleaning and avoid assuming that a product intended for one wood surface will suit another. Ask what to use for normal wiping and what to do about a mark from grease or colored food. Look at the wood around the current sink cabinet for clues about how often it gets wet. Discuss suitable materials with the cabinet maker for that position, then consider whether there is an easy place to set damp utensils or a towel without touching the fronts. A small routine can reduce the amount of cleaning any door needs.
Check what else moves past the fronts. A step stool pulled out from a corner might rub the side of an island. The same cabinet edge may see knocks every time you set down a large pan. Put these locations on the plan and talk about the shape of the corners and the position of protective parts if they are needed. Test where the lower fronts meet the base beneath them. Reaching the floor around deep profiles may require a different cleaning tool from the one you use today.
Take notes that will survive the remodel
Write down the construction, finish, handle name, and care guidance for each choice you seriously consider. Record any decisions about grain direction and alignment. Photograph a full sample where it will be installed. If you choose two fronts of different materials, describe where one stops and the other starts. That detail can be missed in a single image. Confirm with the supplier that the quote includes the agreed doors, drawer faces, end panels, and hardware so that the visible surfaces fit together as intended.
When the fronts arrive, compare them in the installed room and look at the relationship you wanted to create. The wood may show natural variation from one panel to the next. A corner can read darker if it stays in shadow. Open a cabinet and run through the movement you tested with the sample. The useful differences reveal themselves in the first weeks, when you can carry on cooking, open a full drawer, and clean the most touched edge without giving the material much thought.